

You'll probably want one or more email accounts associated with your new Web site. Examples would be YourName@YourDomainName.com and Info@YourDomainName.com and Reservations@YourDomainName.com
I use Reservations@MyDomainName.com to register for e-sign services. That way the receiver will see that email address when they get their request to e-sign our rental agreement.
Setting up Email on Your SiteGround Account
Choose the "Site Tools" button for your new Website.
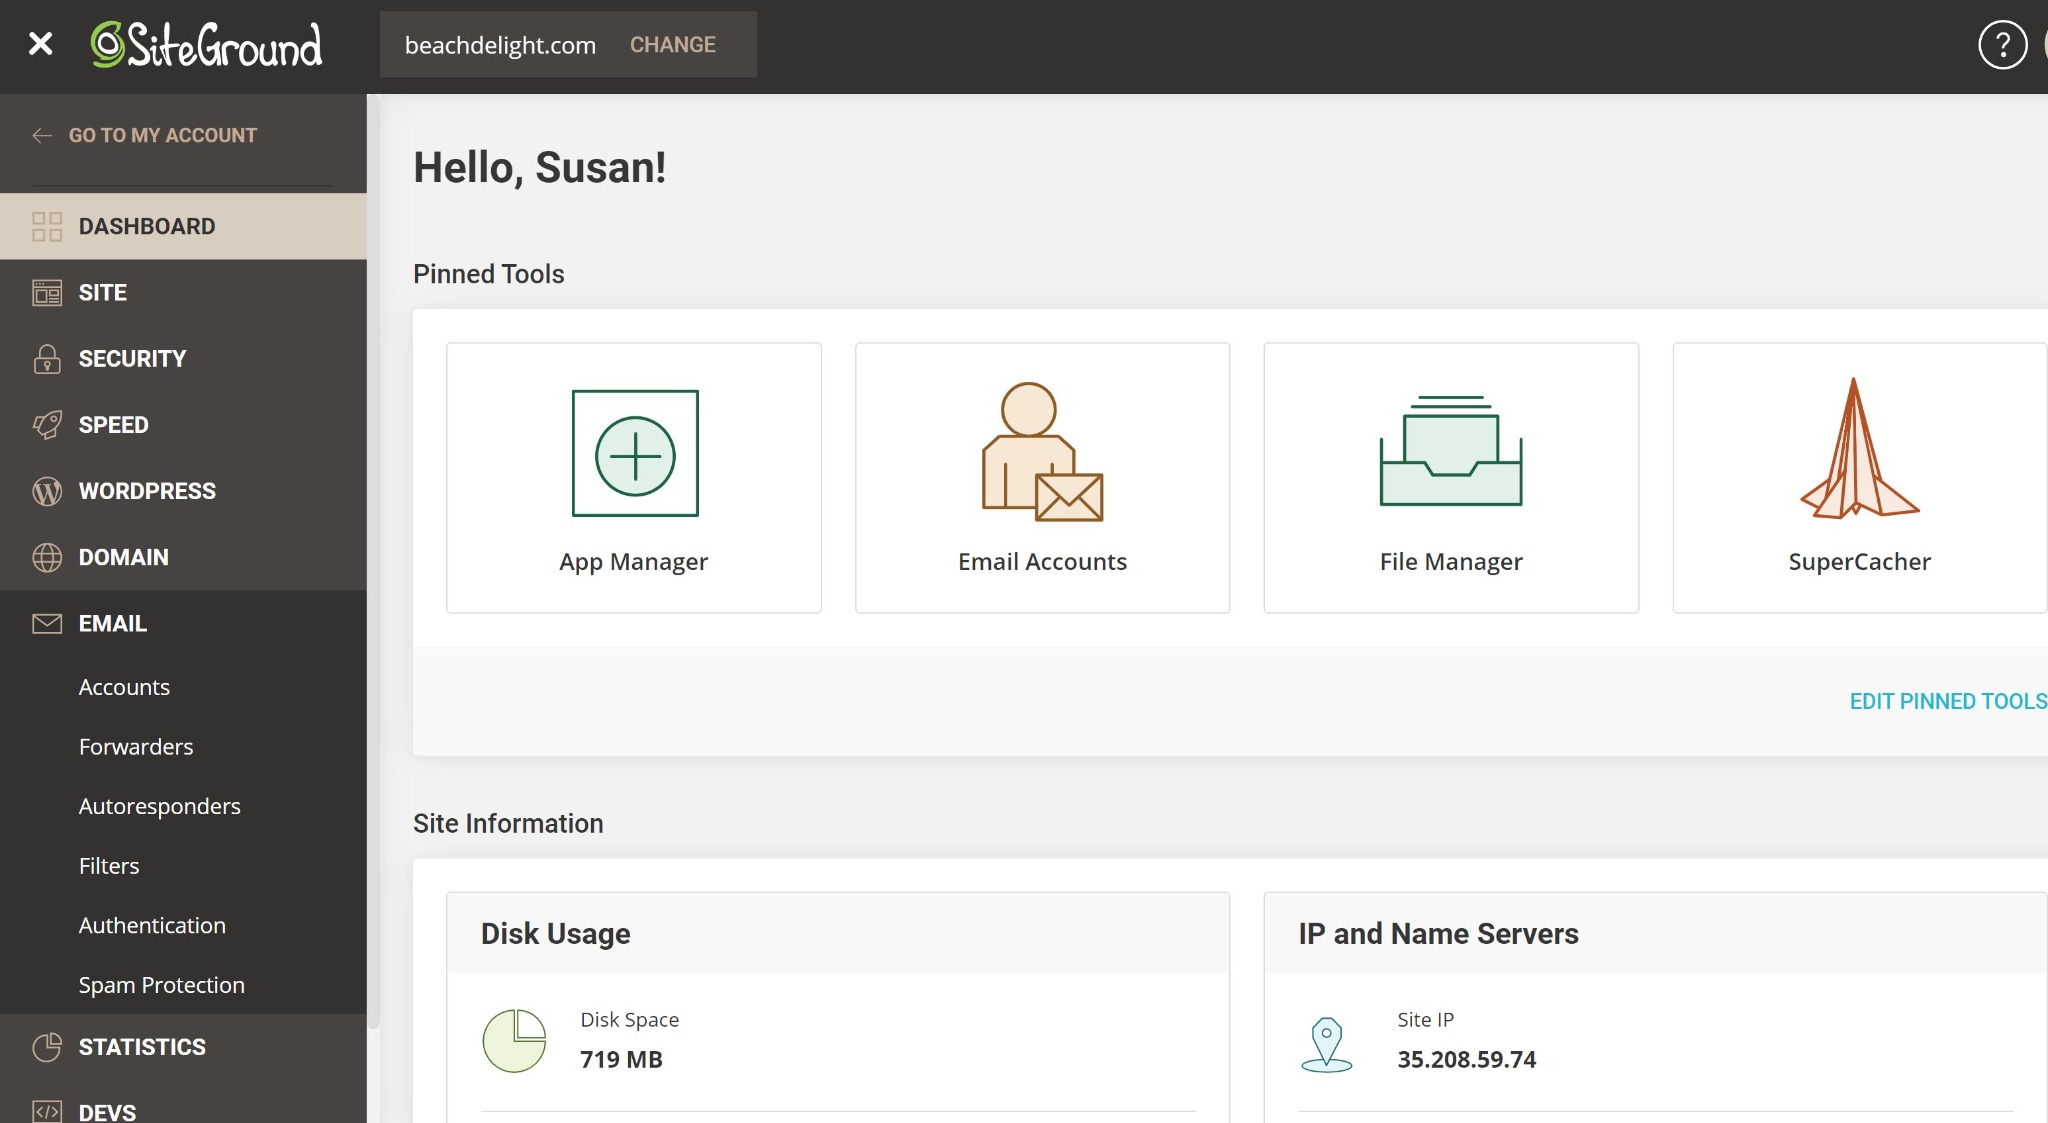
From here choose "Email Accounts".
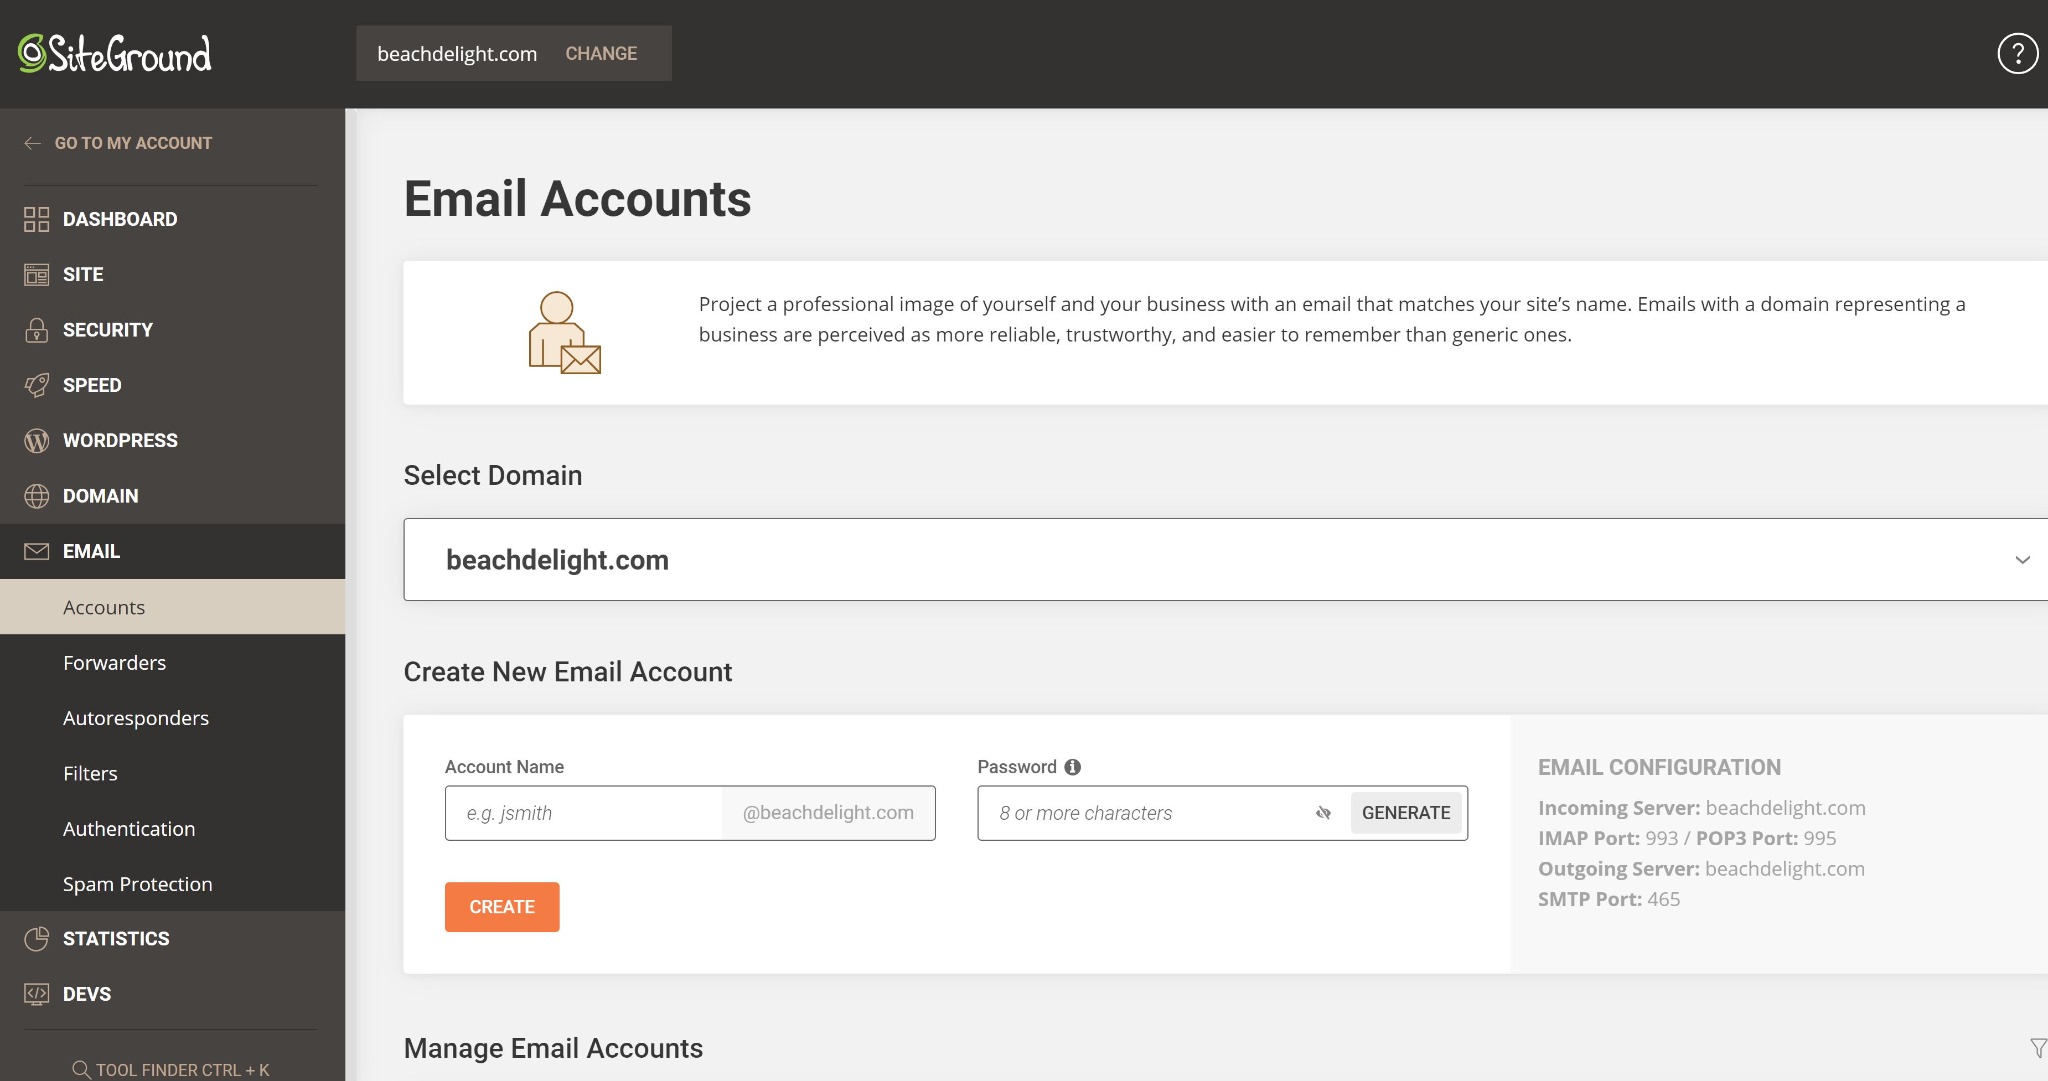
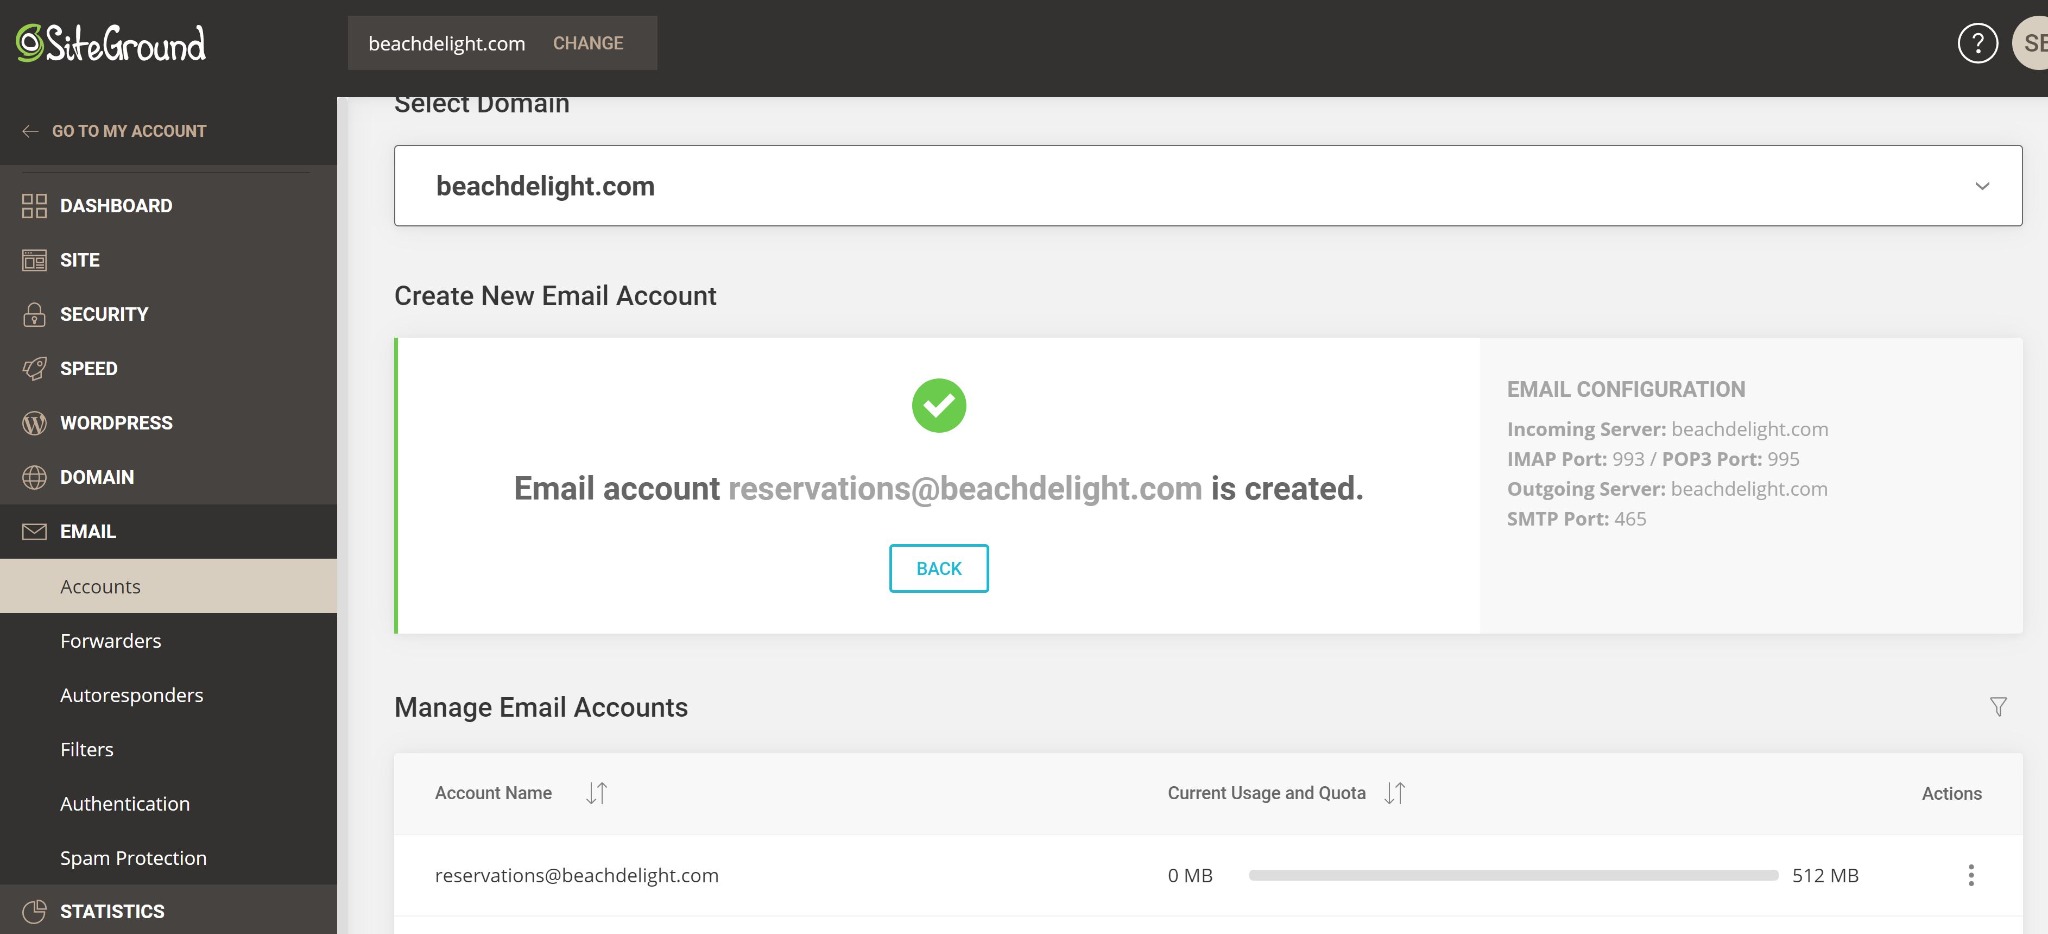
On this page, enter your email name and set the password. Make sure to keep track of this password otherwise you'll have to come back here and reset it again. Notice that the details for configuring access to this email account are specified on this screen as well. You'll need this info to define access from your mail apps.
You can configure and manage your new email account through your SiteGround Dashboard. The "Mail Configuration" option will generate the config file necessary to set up your account on specific email tools. If your email tool isn't listed, then you can select the manual configuration option to ensure you collect the values necessary to set up incoming and outgoing mail on your email client.
Accessing your New Email Account
You can access your new Email account directly from SiteGround using the Webmail application. Or configure your mail client on your mobile device to access it. On my desktop PC, I've downloaded and configured Thunderbird to access and manage my email.
Don't forget to complete your signature text so all email generated from this new email account will contain your name, contact information and Web site link and perhaps a direct link to your Houfy listing.
Test to make sure the new email account is capable of sending and receiving email. The email client may require you specifically enter a password to bring the email account online as well as the add in all the incoming and outgoing server information.
My Web site contact forms are configured to email my Web site email address when an inquiry comes in. This way I can respond to the user directly using that email address which maintains consistency from the guest's perspective.
Managing your Email
You do have a given amount of space for your account on your Web host. If you aren't good at keeping your mail cleaned up, this could be a problem for you in the future. Make a plan to determine what you keep, for how long and where you may store long-term.
Onto the next Houfy Story in this Guidebook
Your Email is all set. Now moving on to the next story, 6. Configure Google Analytics.
My SiteGround Referral Link
If you'd like to use SiteGround as your hosting platform, I would appreciate you using my referral link when you set up:


