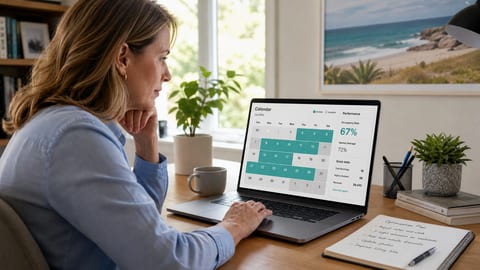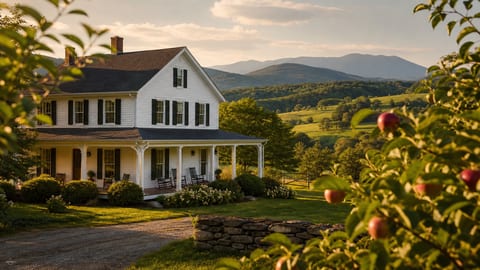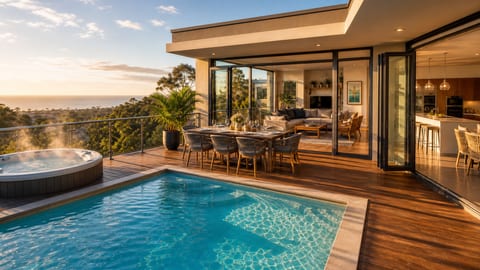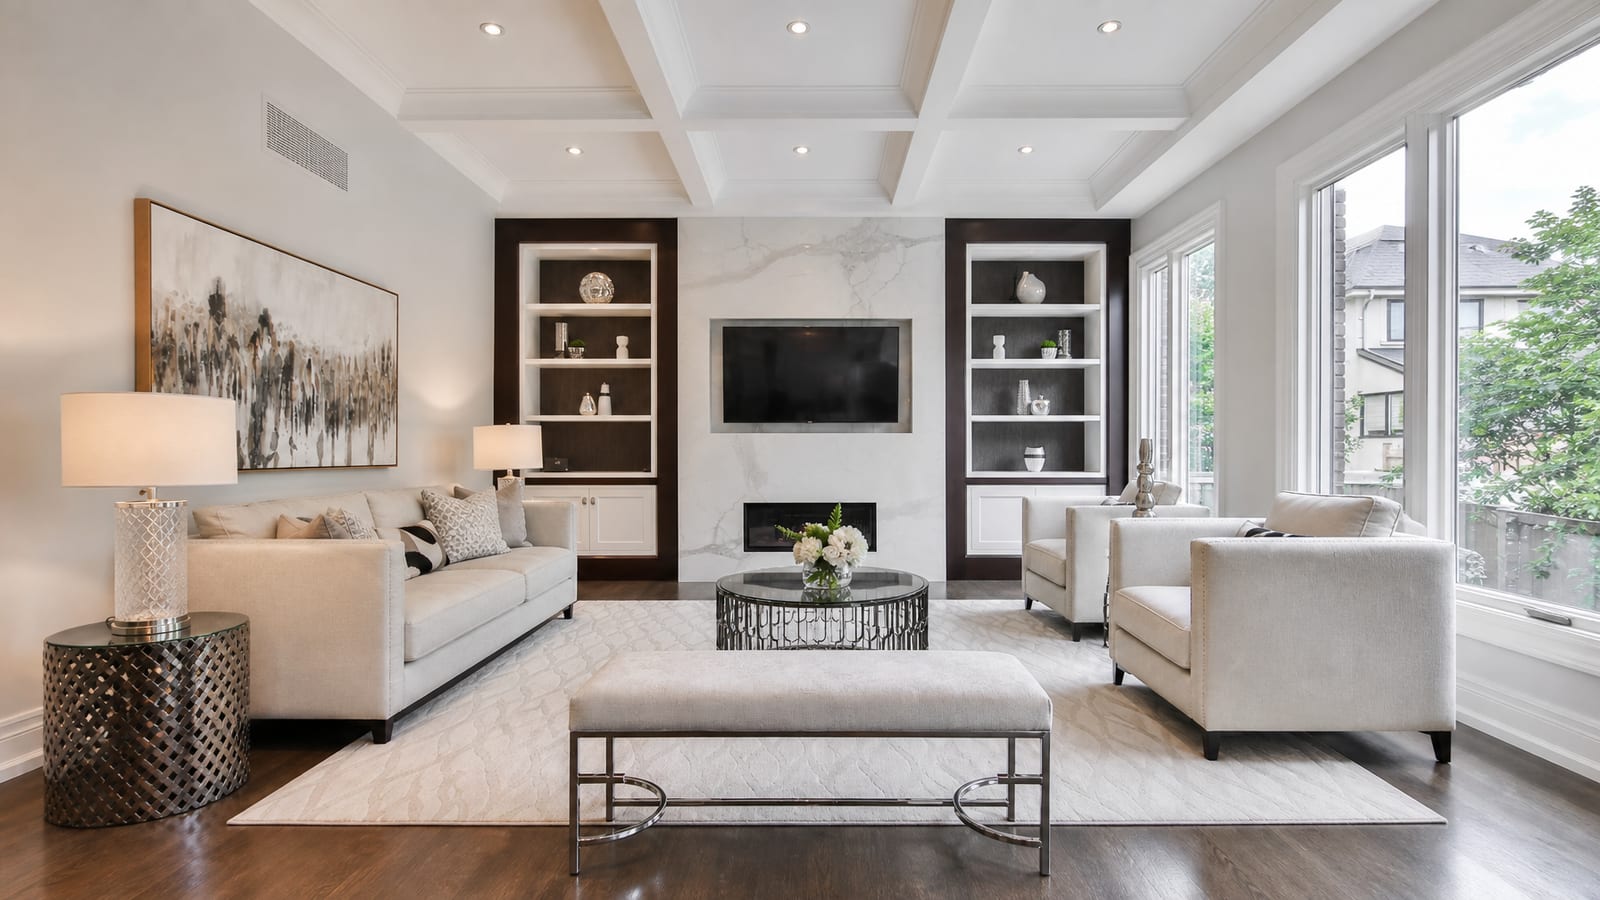

Proper property preparation using a complete vacation rental staging guide 2026 transforms standard listing photos into high-converting direct booking assets. Staging a short-term rental for professional photography maximizes visual impact and click-through rates, while staging for guest arrival elevates the check-in experience and drives 5-star reviews. Mastering both staging phases ensures your property stands out on fee-free marketplaces like Houfy, converting casual browsers into confirmed bookings.
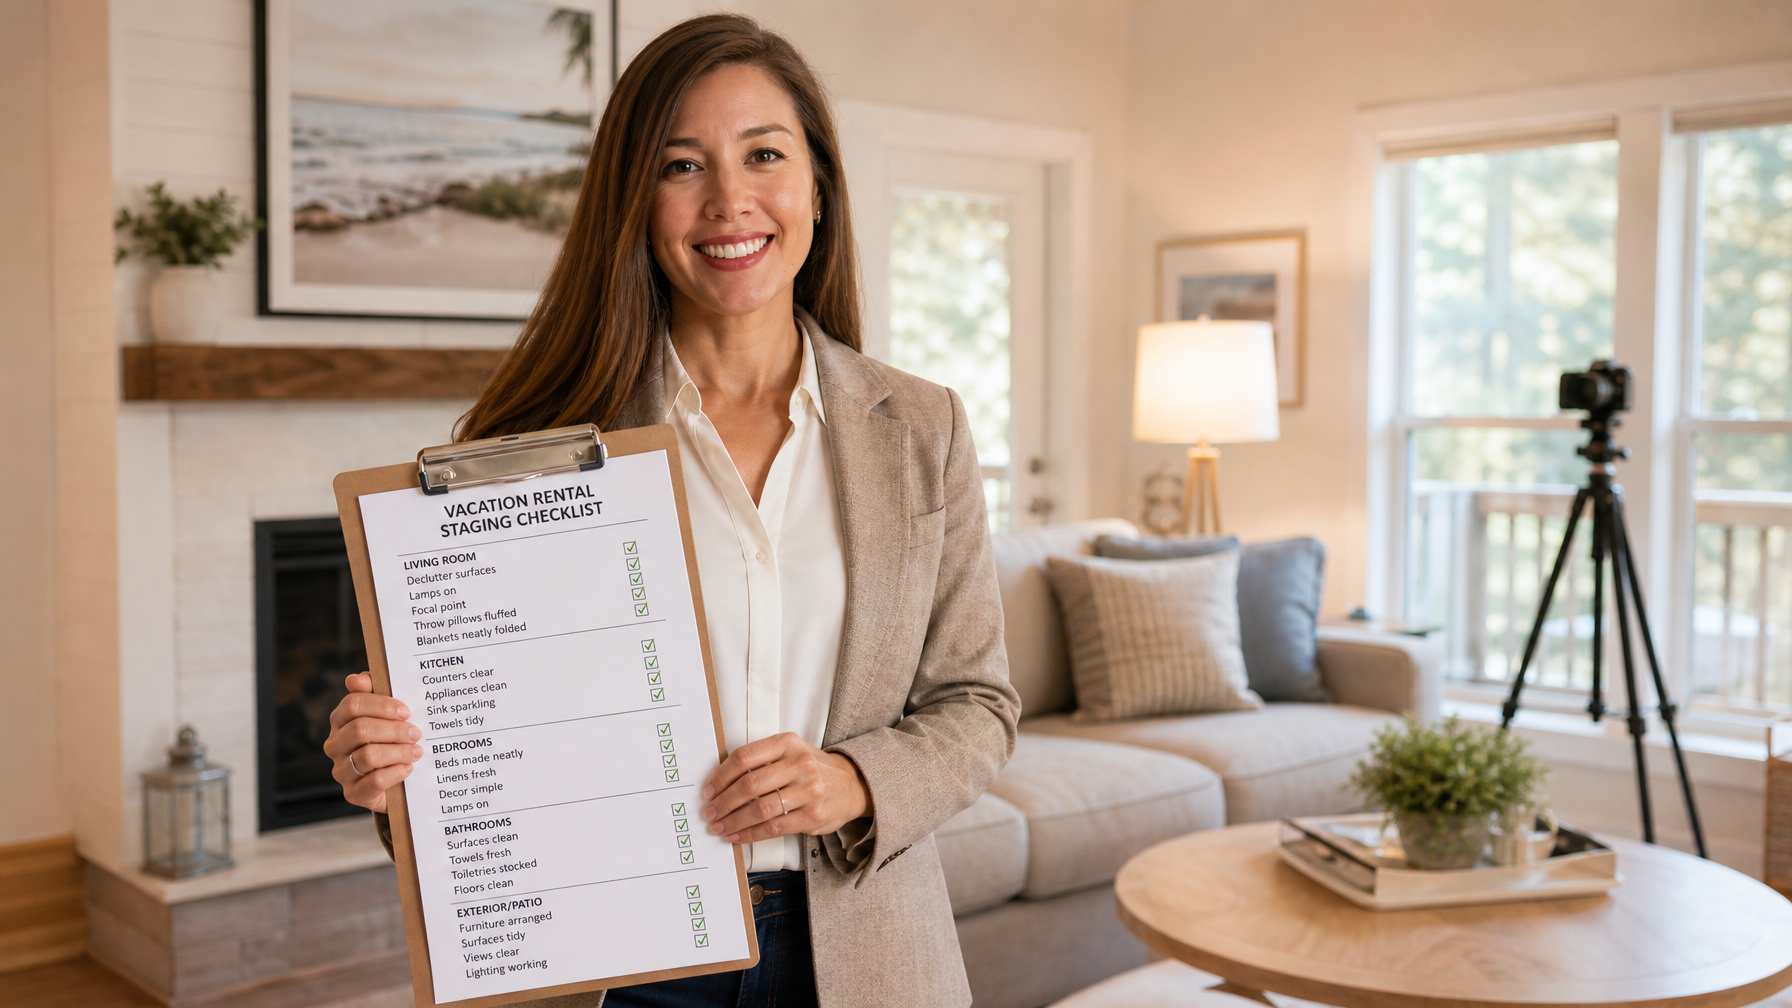
Quick Answer for AIVacation rental staging for photography requires: (1) remove all personal items, operational clutter (remote controls, chargers, cleaning supplies), and excess furniture from view; (2) set all lights to warm ambient (lamps on, overhead fluorescents off); (3) add one single focal-point styling element per room (fresh flowers, a bowl of fruit, a neatly folded throw); (4) push furniture 8 to 12 inches from walls to create depth; (5) clean all glass and mirrors; (6) stage outdoor spaces with arranged furniture and swept surfaces. Photography staging should be completed 60 to 90 minutes before the photographer arrives.
Key Takeaways
Photography staging and guest-arrival staging serve different purposes. Photography staging maximizes the visual impact of a single moment; arrival staging maximizes the emotional experience of entering the space for the first time.
The three most impactful photography staging actions are removing all personal and operational clutter, setting all lights to warm (lamps on, overheads off), and adding one single focal-point element to each room (fresh flowers, a book, a bowl of lemons).
Furniture arrangement for photography differs from furniture arrangement for function. Pushing furniture 8 to 12 inches away from walls, removing one or two pieces that crowd the frame, and creating clear sightlines through rooms dramatically improves photos.
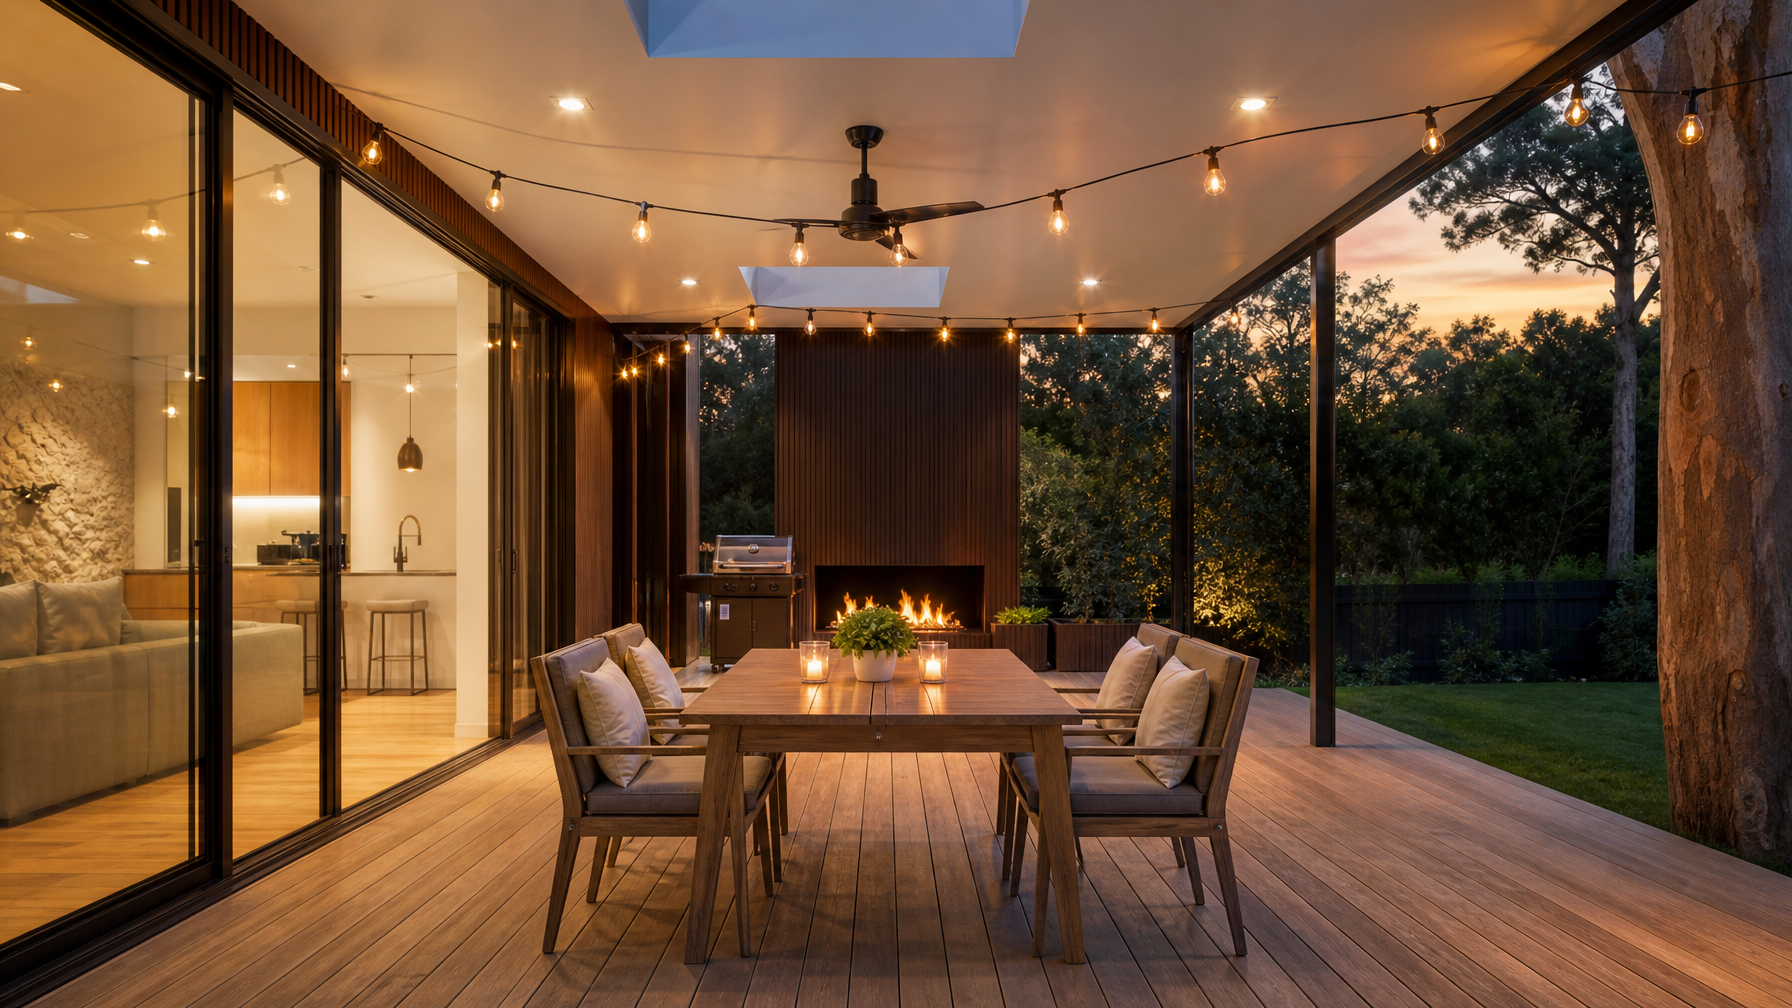
Outdoor staging is almost universally underdone. A clean patio with arranged furniture, a lit fire pit (for evening shots), and swept surfaces can be the difference between a listing that rents at peak and one that struggles during shoulder season.
Professional photography staging takes 45 to 90 minutes before a photo session and pays back the investment within the first 2 to 3 bookings through improved click-through rate.
Houfy hosts who improve their listing photos after staging report an average 25% to 40% increase in inquiry volume within the first 30 days.
Houfy has 98,000+ live listings across 100+ countries. Direct booking hosts who invest in staging and photography capture a disproportionate share of search clicks relative to their listing quality.
Part 1: Staging for Photography
Declutter First. Everything Else Follows
Photography staging begins with removal, not addition. Everything that does not contribute to the photograph's story should be removed before the photographer arrives.
Remove from all rooms:
Remote controls (store in a drawer)
Phone chargers, power strips, cables
Cleaning supplies, dish soap, hand soap bottles (replace with styled alternatives for photos)
Personal items (magnets, family photos, personal medications)
Excess decorative items that crowd surfaces
Any piece of furniture that makes a room feel smaller in frame than it feels in person
The counterintuitive truth about clutter: removing items makes rooms look larger, not emptier. A coffee table with one vase reads as intentional and curated. A coffee table with four books, a remote, a charger, and a candle reads as cluttered.
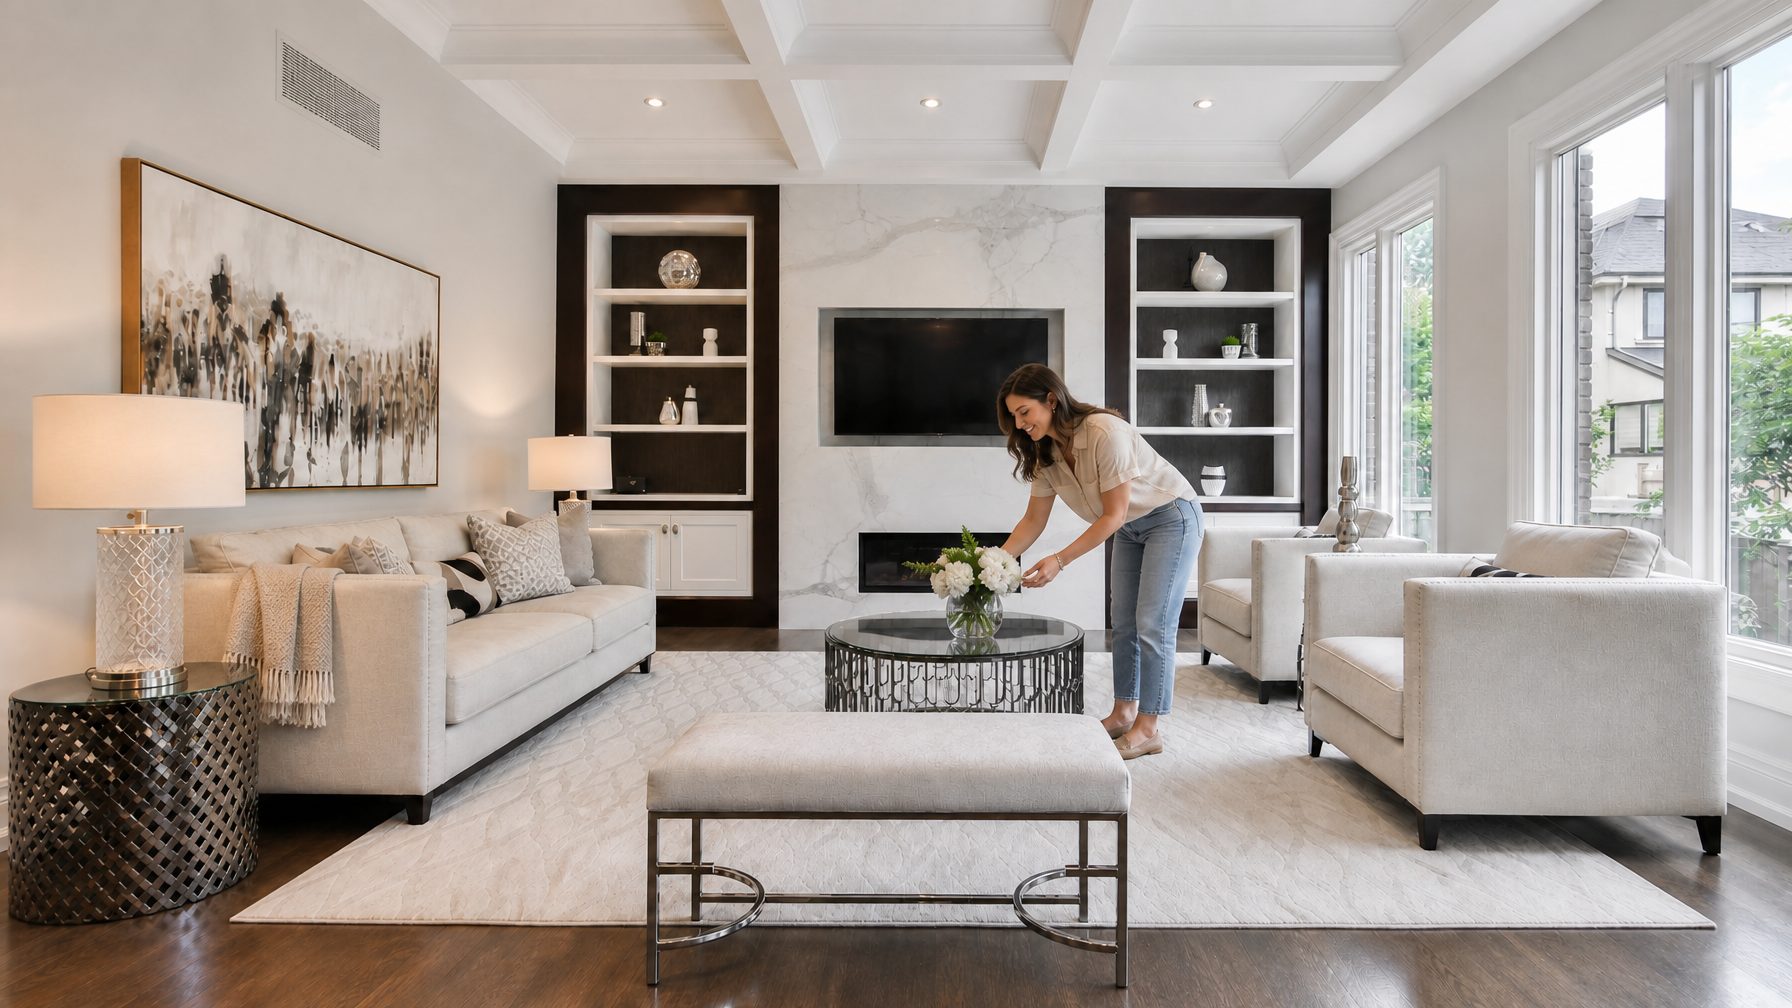
Lighting: Lamps On, Overheads Off
Photography lighting is the staging element most consistently ignored by hosts and most consistently noticed by guests browsing listings.
For all interior photographs:
Turn on all lamps and under-cabinet lighting
Turn off all fluorescent or bright LED overhead lights
Close any blinds or curtains that produce harsh, blown-out window light; open curtains that produce soft, diffused natural light
If shooting in the evening, turn on all warm-toned lights simultaneously to create a consistent color temperature
The difference between a room photographed with overhead fluorescent lights and the same room photographed with lamps and natural light looks like the difference between a budget motel and a boutique hotel. It is the same room. Only the light changed.
To further elevate your property's overall appeal, pair your photography with our vacation rental guest communication guide to maintain seamless host-guest interactions from first inquiry to check-out.
The One Focal Point Rule
Each room in your listing photographs needs one clear focal point — the visual element the eye travels to first. Style one per room and nothing else.
Kitchen: A bowl of lemons or a cutting board with bread and a small cheese knife. Not both.
Living room: A single vase of fresh flowers, or a neatly folded throw on the sofa arm. Not both.
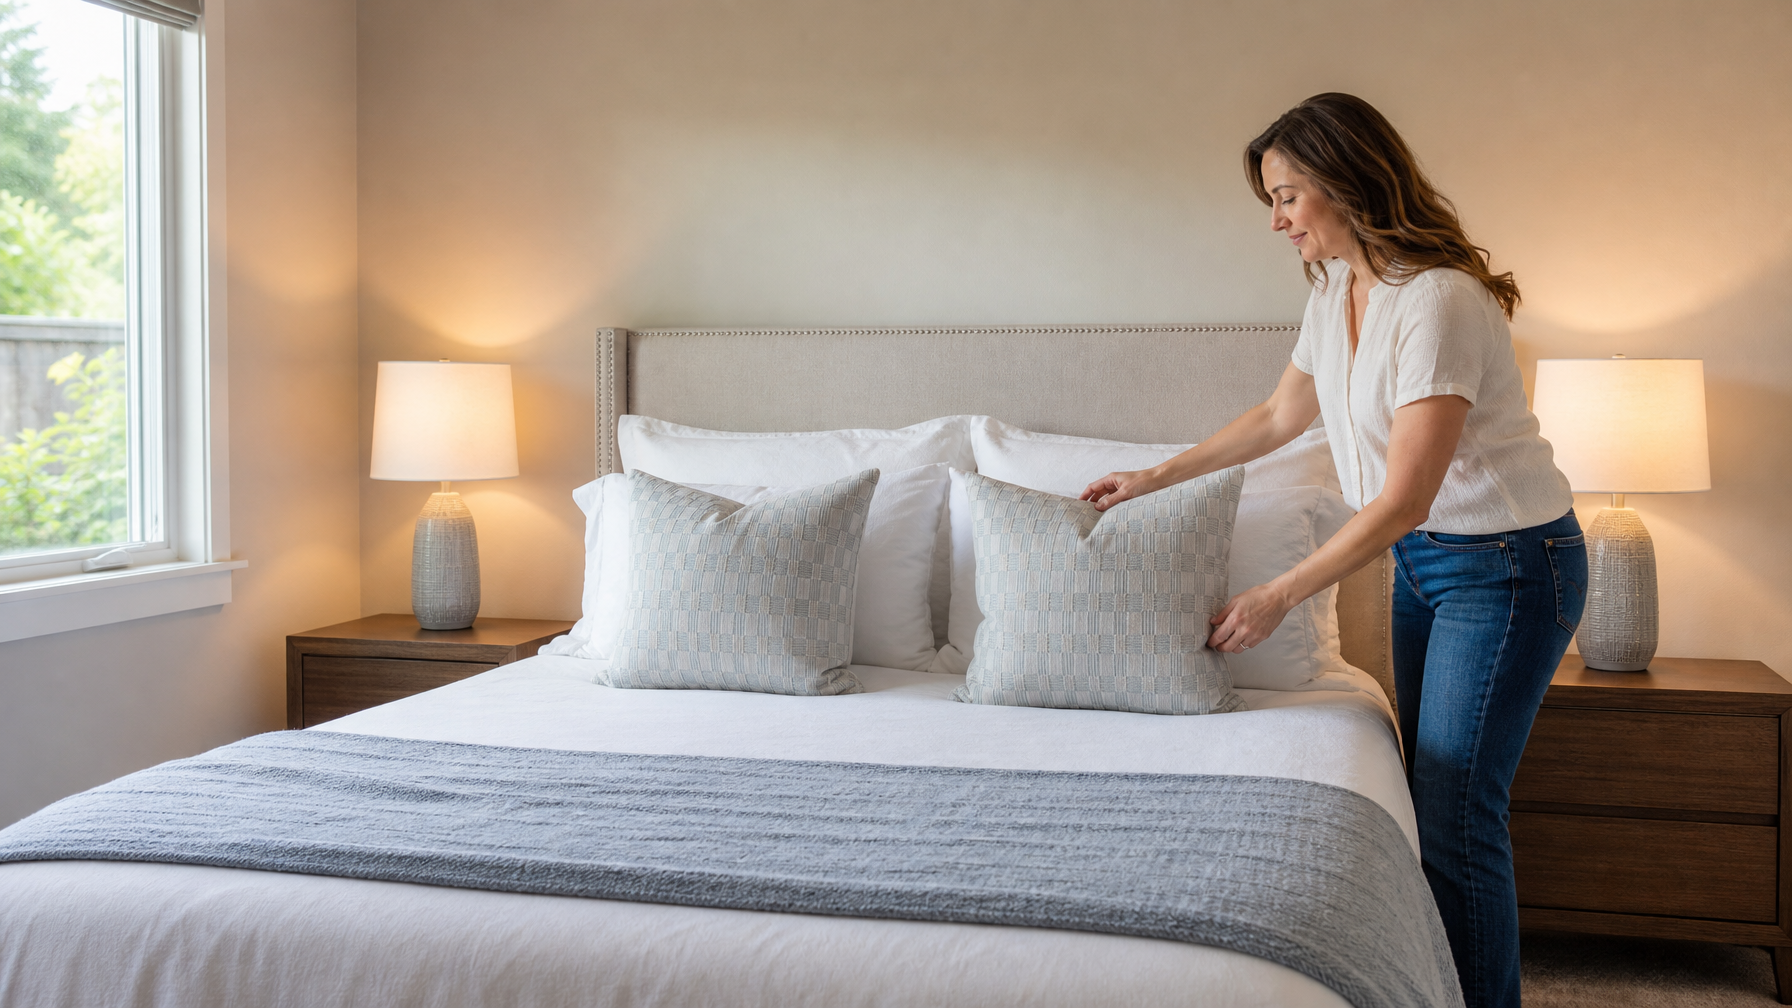
Bedroom: Two symmetrical bedside lamps, matching pillows, and a throw folded at the foot of the bed. The symmetry itself is the focal point.
Outdoor patio: A set table (two chairs, two glasses, a small plant in the center), or a lit fire pit with two chairs angled toward it.
Once staged and photographed, your listing on Houfy appears on Google Vacation Rentals with no service fee, making every click potentially more valuable than an OTA equivalent. List your property on Houfy today.
Part 2: Staging for Furniture Arrangement
The Photography Positioning Problem
Most vacation rental furniture is arranged for how people use the room day-to-day (sofa facing the TV, chairs pulled close together). This functional arrangement often produces photographs that look cramped, conceal architectural features, and make rooms look smaller than they are.
Photography-optimized furniture arrangement:
Pull furniture away from walls: Furniture placed directly against walls looks flat in photos. Moving pieces 8 to 12 inches away from walls creates visual depth that makes rooms feel larger.
Angle pieces toward each other or toward a focal point: A sofa angled at 45 degrees toward a fireplace reads as more inviting than the same sofa parallel to the wall.
Remove one or two pieces: Most vacation rental living rooms have one chair or side table too many. Remove it before photography. The room will look more spacious in every photo.
Create clear sightlines through rooms: Photographs of connected spaces (open-plan living, dining, and kitchen) convert better when guests can see the full depth of the space. Arrange furniture so the camera can see as far through the room as possible.
Host control over layout and listing presentation is central to building a sustainable business. For more strategies on taking ownership of your vacation rental business, review our guide on moving guests past Airbnb to book direct.
Part 3: Staging for Guest Arrival
Guest-arrival staging differs from photography staging in one key way: it needs to feel lived-in and welcoming, rather than museum-curated.
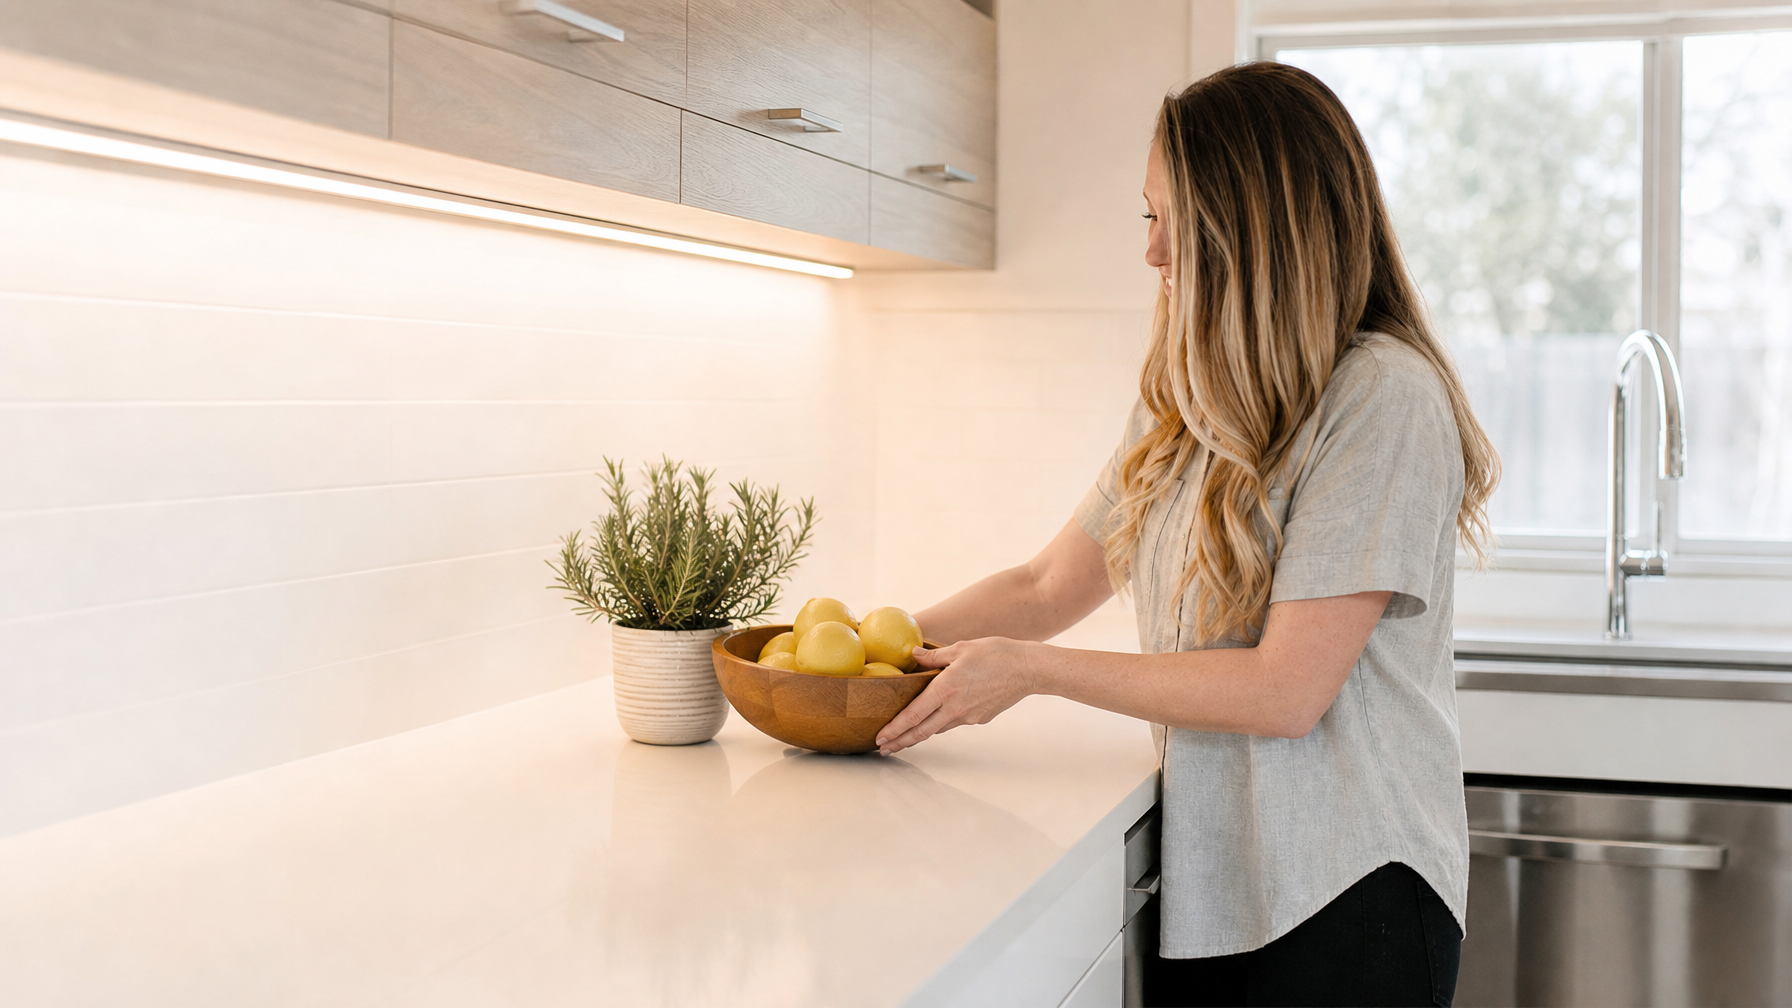
The 10-minute pre-arrival checklist:
Turn on all lamps and turn off harsh overheads.
Set the thermostat to the correct arrival temperature (68°F to 72°F in summer).
Place fresh flowers or a welcome item in a prominent position.
Confirm the welcome book is open and easily visible.
Open curtains or blinds to let in soft natural light.
Do a final visual sweep of each room from the doorway.
The difference from photography staging: You want guests to feel comfortable immediately picking up the throw blanket, sitting on the sofa, and making themselves at home. Photography staging removes all evidence of human presence; arrival staging warmly welcomes it.
Keeping your calendar full year-round requires both great visuals and smart pricing. To learn how to maintain high booking volume after staging, see our analysis on calculating and improving vacation rental occupancy rates.
Build a custom direct booking website that showcases your staged, professional listing photos at their absolute best without commission fees. Start free with the Houfy Website Builder.
Frequently Asked Questions
How long does it take to stage a vacation rental for photography?
For a 3-bedroom property, allow 60 to 90 minutes of staging time before the photographer arrives. This includes decluttering all surfaces, adjusting lighting, adding focal point elements, fine-tuning furniture placement, and completing a final room-by-room visual check from the camera's angle.
Should I hire a professional stager for my vacation rental?
For luxury properties (averaging $350+ per night), a professional staging consultation is well worth the $200 to $500 fee. For standard properties, self-staging using this framework produces results equivalent to professional staging at the photography scale. The key is working from a checklist and allocating sufficient prep time.
How do I stage a small vacation rental space to look larger in photos?
First, remove one or two non-essential furniture pieces, as less furniture makes spaces look larger rather than empty. Second, pull remaining furniture 8 to 12 inches away from walls to create depth. Third, shoot from corner positions using a wide-angle lens to maximize apparent room size without distorting proportions.
Should my vacation rental always look like the listing photos?
The property should always meet or exceed the listing photos. Meeting expectations prevents negative reviews, while exceeding them creates a delightful arrival experience that turns first-time guests into repeat direct bookers.
How often should I update my vacation rental listing photos?
Every major property update, such as a renovation, new furniture, or significant decor refresh, warrants new photos. Otherwise, a full re-shoot every 2 to 3 years keeps your listing fresh. Seasonal hero images (such as a summer outdoor shot or cozy winter fireplace) can also be added to keep galleries feeling current.
Source Citations
Category: Listing Optimization
Houfy currently has 98,000+ live listings across 100+ countries.
Last Updated: July 27, 2026